Introduction to Cura
Cura is the most popular slicer amongst the Community member, mostly because it is the recommended one from Flyingbear in its videos and becuase it includes already some profiles for the Flyingbear Ghost (from version 4.6.0 for the Ghost 4s, from version 4.8.0 for the Ghost 5)
In addition to this, cura has a plugin to control the printer via Wifi (we'll talk about it later...) when connected to the your home Wifi
This plugin might not be as powerful as Octoprint, but it lets you make some basic operations, like: sending gcode files (which are then saved on the SD) and start printing as soon as file transfer is completed; visualize the content of the SD card; delete files directly from the SD while still plugged into the printer; send gcode commands; check the actual temperatures of the hotend and the build plate; move the axis
This plugin is called MKS WiFi Plugin and it can be downloaded from the Cura Marketplace (the plugin store that can be accessed from within Cura itself)
Flyingbear has some youtube videos to configure this plugin (the version in the video is quite old, but procedure is pretty much the same)
In the following links, you can find some of the best Cura plugins and settings videos
Installation and first start
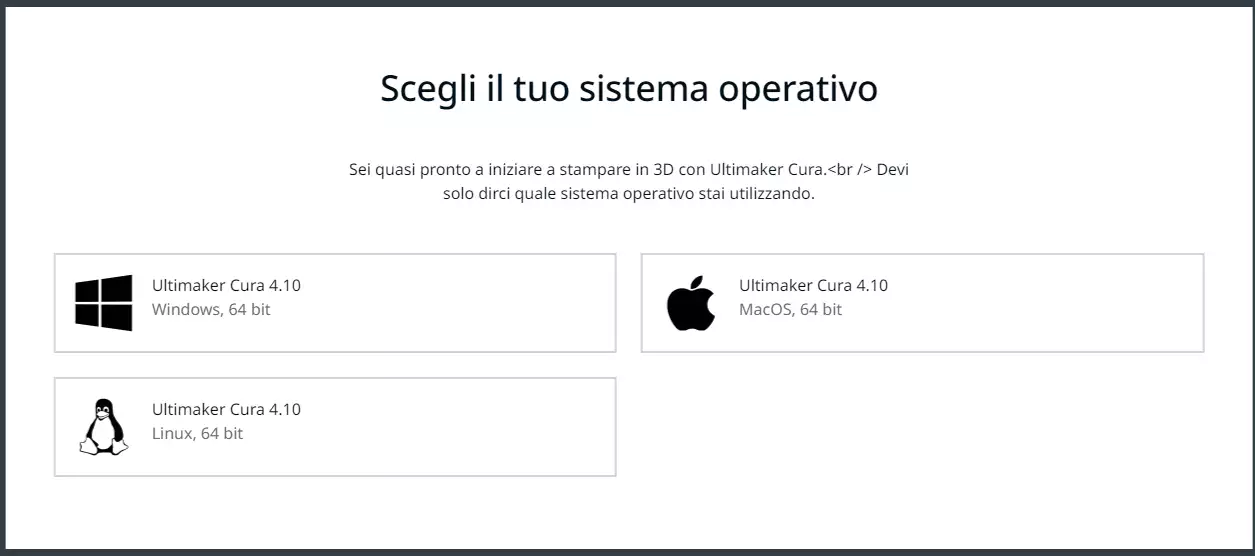
First of all, go on the website of the Cura creators, Ultimaker, following this link, then click on Download for free
A new window will open, then you can choose which version you want to download, according to your operating system. Click on the link you chose, then wait patiently for download to complete
If you already have an old version of Cura installed, it will be removed and, if you don't have a backup, you might lose your settings. Always make a backup of the settings
In order to do this, you must have an Ultimaker account, then, from there, in your Cloud profile, you can upload your backup or restore the settings you've already saved
From here, you can backup your settings before installing a new version, then restore your data once you've installed the new version
Now start installing Cura and just use all the standard settings
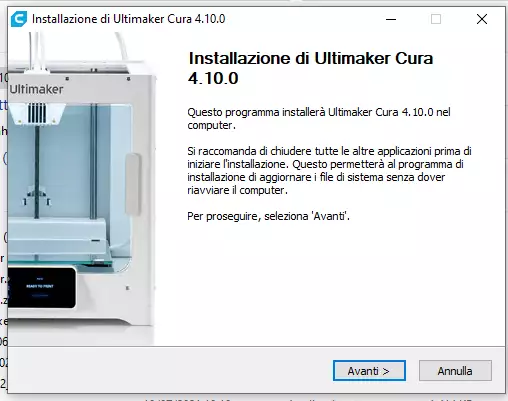
Read and accept the User Agreement, then continue, still using all the default settings, until the end of the installation process

After pressing the Close button, the application will start immediately (well... depending on your computer...) and, after loading, we'll see the Cura initial screen

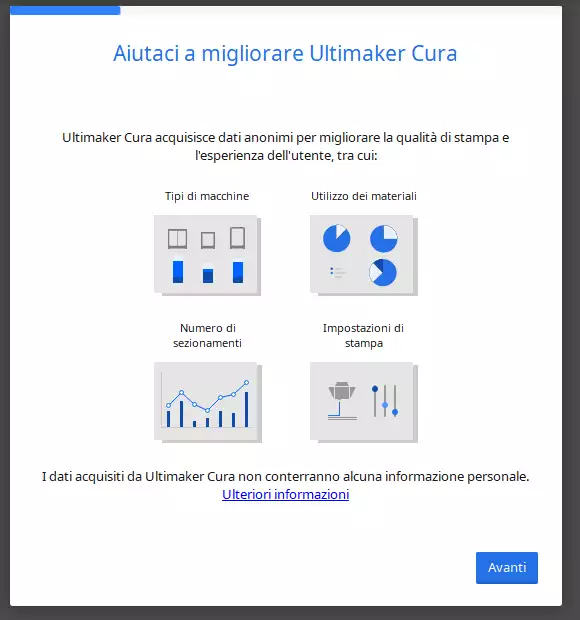
Now let's press the Get Started button. The User Agreement will show up, plus some additional authorizations regarding materials and/or printer, plus some anonymous parameters useful for the Ultimaker statistics and marketing (at the end of the day, they must bring home the dough too, don't they???). We need to accept all these terms, if we want to use their application
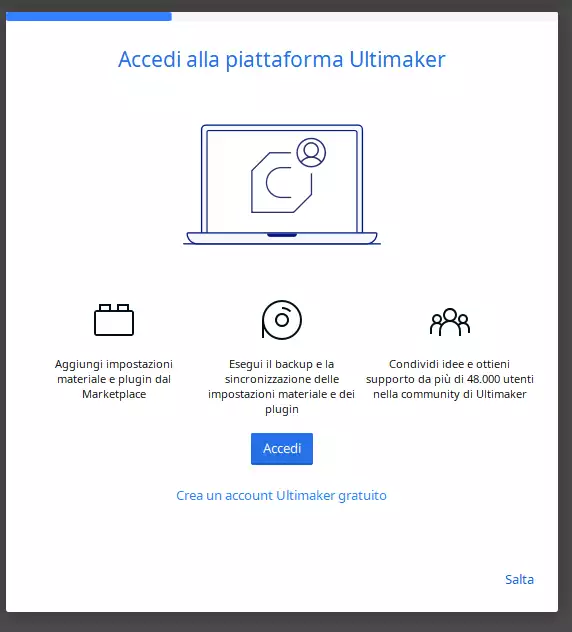
Now we're at a very important part: registering our account
In my opinion, this is really useful, considering it lets you backup and synchronize your settings if you have multiple PCs, therefore you can choose either to access you account (if already have one), or you can create a new one
If you are not interested, you can Skip this process, although it is still recommended
Anyway, you can do it at a later moment, so it's not strictly necessary
Printer configuration
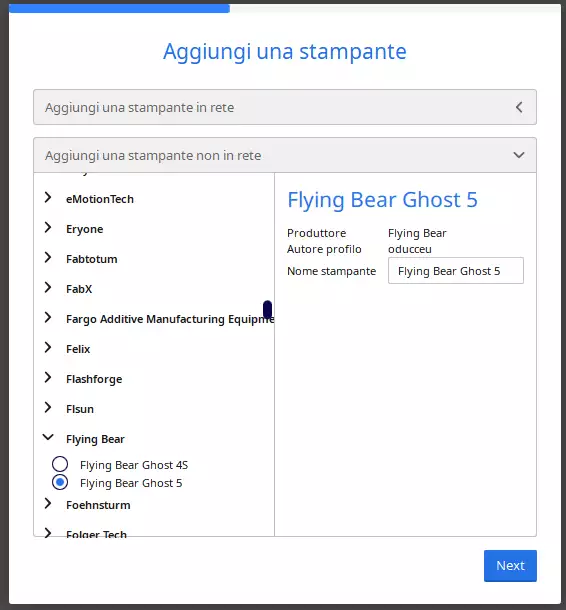
Now it's time to configure the printer
The Ghost does have a wifi module, however, you must add it as a non network printer, because this functionality is dedicated to the Ultimaker printers
The next screen is about the machine settings, I strongly advise to leave them as they are, for the time being

We finally got to the end!
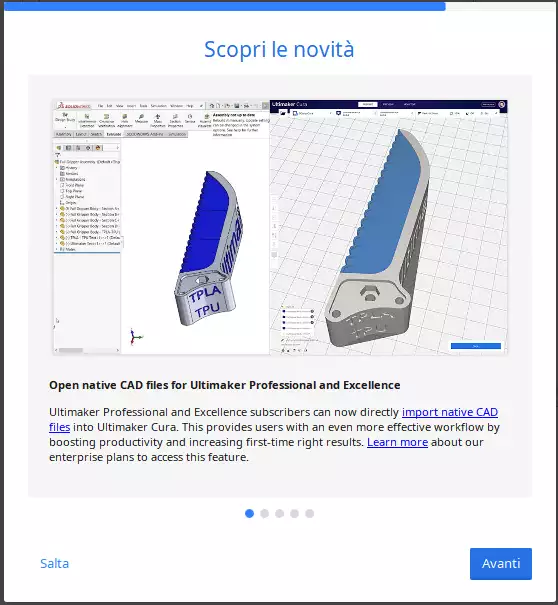
Now there will be a screen with all the new functionalities: you can read them all, clicking on Next, or you can Skip them, then click on Finish to complete your first configuration