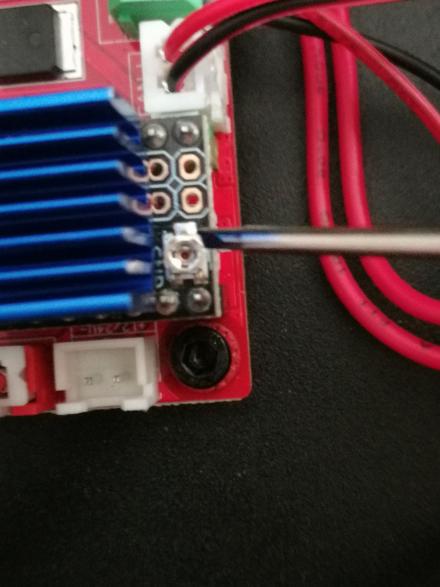
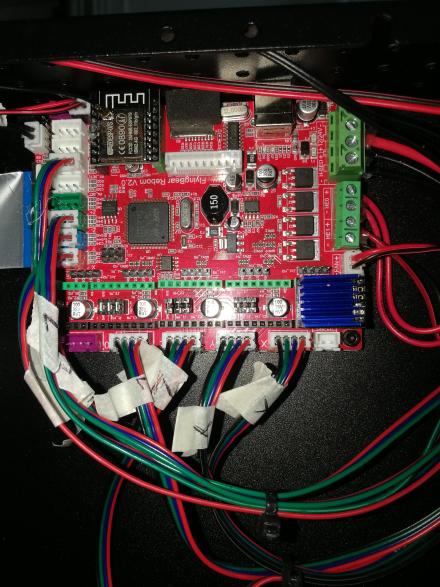
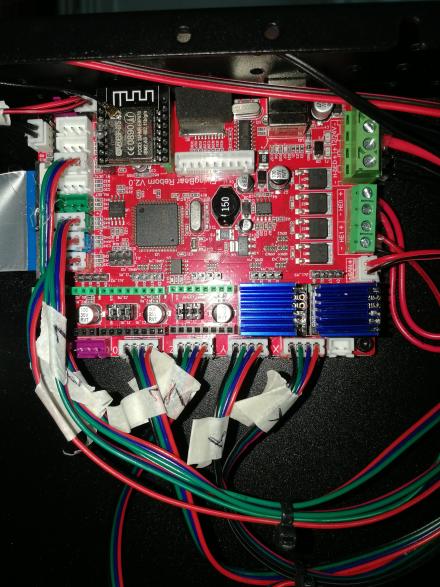
When calibrating the VREF, absolutely do not touch any other component of the motherboard to avoid any short circuit!!!
- Buy the NON UART version (the one without the trasversal pins)
- This does not apply to all Flyingbear Ghost motherboards: some of them come with TMC2225 presoldered, which are quiet already, some of them come with a combination of TMC2209 and A4988, so it might not be necessary to replace four drivers, but two will be enough
Step 1: Open the printer
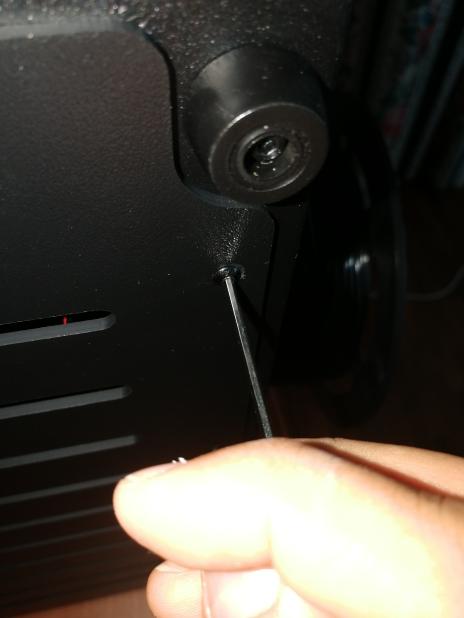
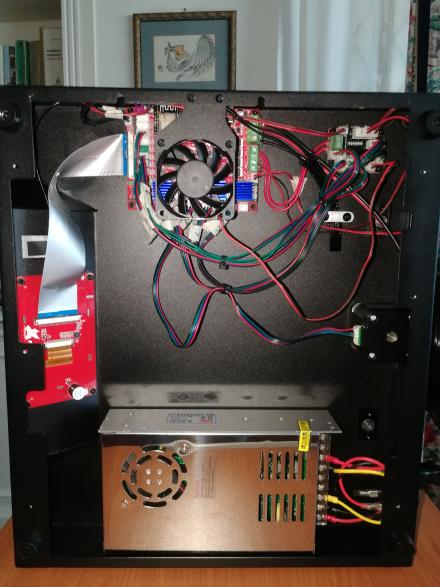
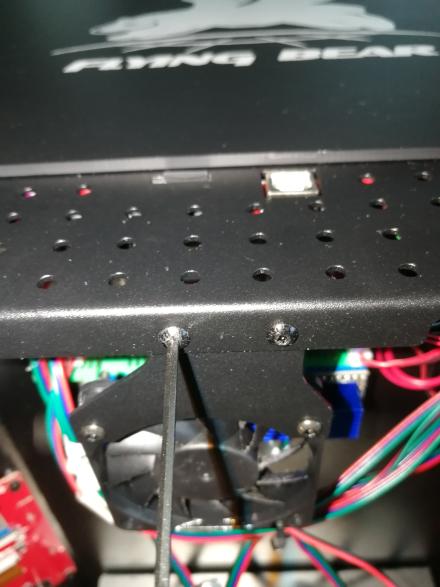
Make sure your printer is off, possibly removed the power cable too, then flip the printer over on one side, then remove the bottom panel to access all the electronics
Step 2: Remove components and cables
Remove the motherboard fan
Once you've removed the fan, the motherboard with the original drivers will be easily accessible
Remove all the hot glue from the drivers connections, if present, then remove the motor cables from the motherboard
Finally, be careful to remove all the drivers from their slots
Step 3: Replace drivers
Insert all the drivers, starting from the right side of the motherboard, in their slots, one at the time, making sure the trimmer is on the bottom right, as shown in the pictures
Plug the power cable, if you unplugged it, then turn on the printer and check the actual VREF by using a multimeter
Set it to DC, then put the negative probe on the GND pin of the driver (or the power supply) and the positive one on the trimmer, making sure probes won't get in touch with any other part of the driver
The next step will be setting the VREF according to the measured value
The VREF value has always been under debate in the community
Each printer is different, some people say their drivers work well with higher values, some other people prefer to lower them, because they've experienced their motors overheat
You can try two sets of values:
X Y Z = 1.2 E0=1.4 X Y Z = 0.9 E0=1.1
IN BOTH CASES, WE DECLINE ANY RESPONSIBILITY FOR ANY DAMAGE CAUSED TO THE PRINTER
TO set the VREF correctly, turn off the printer, turn the trimmer with the screwdriver you found with the drivers (or any other screwdriver you have and fits...), turn on the printer, then measure again
Repeat this procedure until you've reached the desired VREF value
Step 4: Firmware update
Extract the MicroSD from the printer, insert it in your computer, then save on the hard drive the robin_nano35_cfg.cur file. Rename is as txt (robin_nano35_cfg.txt)
If you don't have this file, you can find it in the firmware section
Now you must invert the directions of the drivers according to the following:
>INVERT_X_DIR            0
>INVERT_Y_DIR            0
>INVERT_Z_DIR            1
>INVERT_E0_DIR           1
>INVERT_E1_DIR           0
Save the file, then copy it on the MicroSD
After that, insert the SD inside the printer, turn it on, then wait for the update to complete
Perfect! Now your printer will be very quiet!
